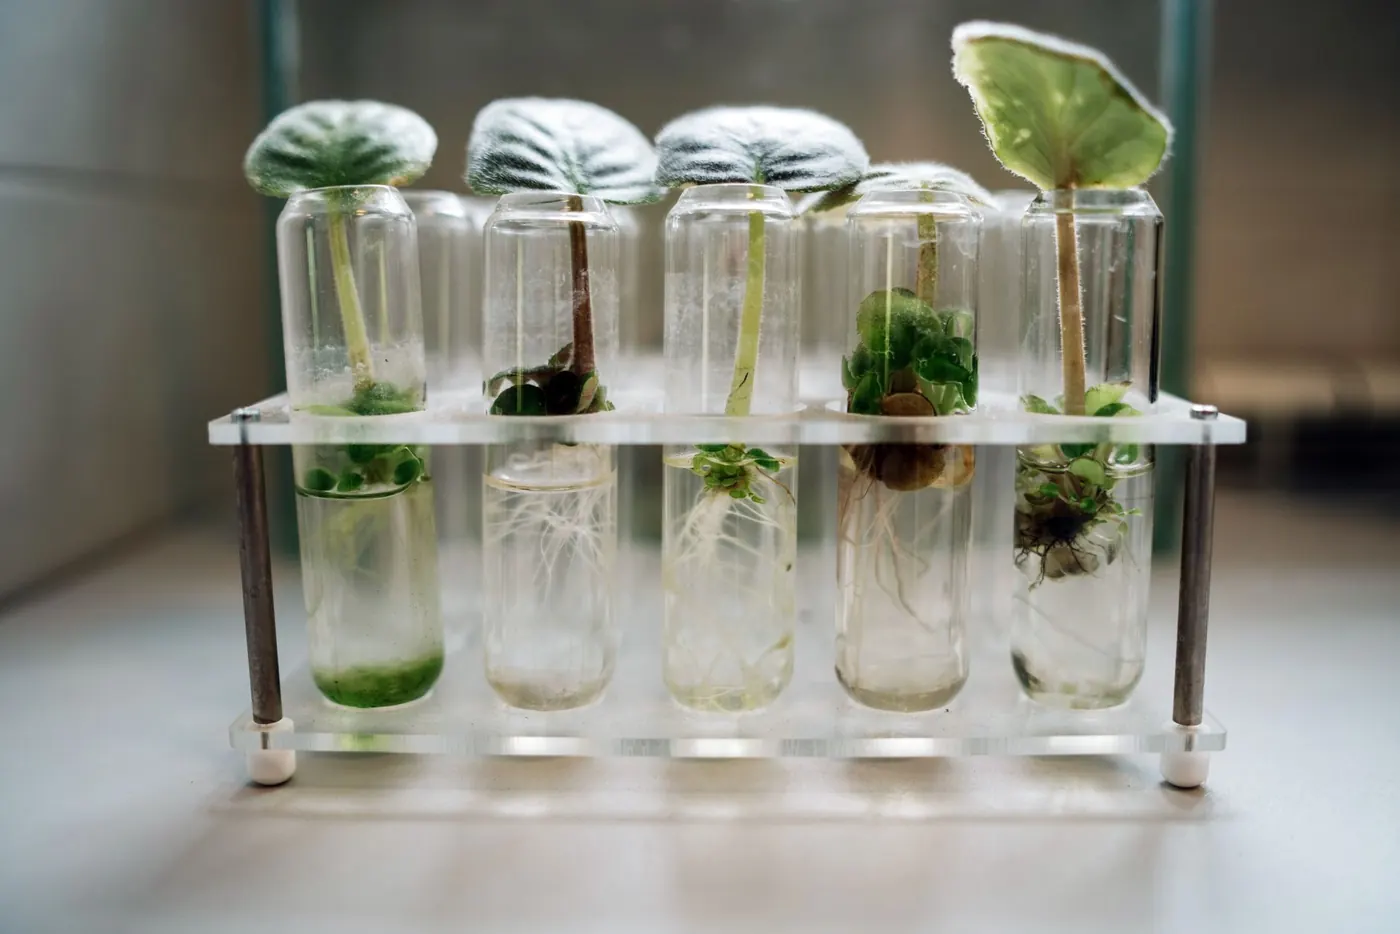
Tissue culture is the reason a Monstera deliciosa 'Thai Constellation' or a Philodendron spiritus-sancti no longer costs hundreds of pounds. A laboratory multiplies a single plant into thousands of genetically identical plantlets on sterile gel, and each cup reaches you with one to three of them. What you save in price, you pay back in skill: plantlets raised in 100% humidity, on sugar, in a sterile vessel have to learn to live in open air. This page explains what you are buying and when to act.
What is inside a sealed vessel
Each cup holds a sterile agar gel containing sugar, mineral nutrients and plant growth regulators, with one to three plantlets rooted into it. The lid carries a small filter that lets gases pass but keeps out fungal spores and bacteria. Inside, humidity is close to 100% and the plantlets feed partly on the sugar rather than photosynthesising fully, so their leaves have thin wax layers and their pores barely close.
Do not open the cup until you are ready to deflask. Once the seal is broken, mould spores reach the sugary gel and can cover it within days. Keep cups upright in bright indirect light, around 30–60 µmol/m²/s, at 20–25°C. Never put them in direct sun, which overheats a sealed cup quickly.
When to deflask
Plan to deflask within 7–14 days of arrival. The cup has been in transit and the gel is finite; leaving it for months lets the plantlets exhaust the nutrients and the gel shrink and brown. Deflask straight away if you see any of these: fuzzy growth or a cloudy, milky patch in the gel, which means contamination; gel that has turned brown or pulled away from the walls; or plantlets pressing against the lid.
If roots are absent or under 1cm, you can hold the cup for up to three or four weeks in bright indirect light while they develop, provided the gel stays clear. Plantlets with roots of 1–2cm and two or more leaves are at the ideal stage. Our step-by-step 28-day deflasking and acclimatisation protocol covers washing off the agar without breaking roots, choosing between sphagnum and fine bark-perlite media, and weaning the plantlets.
The ex-vitro kit: X-Vitro solution and humidity domes
Most deflasking losses come from two things: agar left on the roots feeding mould, and plantlets drying out because their leaves cannot yet control water loss. Our X-Vitro root conditioning solution, £4.99, is a dip for freshly washed plantlets that supports root development as they move from gel to substrate. A clear humidity dome, £4.99–£9.99 depending on size, holds the air around them at 90–95% in the first week.
The weaning schedule then steps humidity down each week, from about 95% to 60% over four weeks, by opening the dome vents and then lifting the lid for longer each day. Rushing this stage is the commonest mistake: if leaves wilt when the lid comes off, close it again for a few more days. Plant the deflasked plantlets into fine sphagnum moss or a fine bark and perlite mix, then move them into their genus mix once the first new leaf has hardened.
Shipping and what the guarantee covers
Cups ship upright and wrapped, Monday to Thursday, with a heat pack available below 5°C. The 7-Day Live Arrival Guarantee covers the cup arriving with viable plantlets and clear gel. If contamination appears within seven days of delivery, email photos to care@growtropic.co.uk before opening the cup. Once a cup is opened, results depend on technique and conditions at home, which is why we publish the full protocol.