- Clear slotted pots show root colour, root growth and the moisture line, so you water on evidence rather than habit.
- Side slots let air into the root zone and stop roots circling by air-pruning them at the wall.
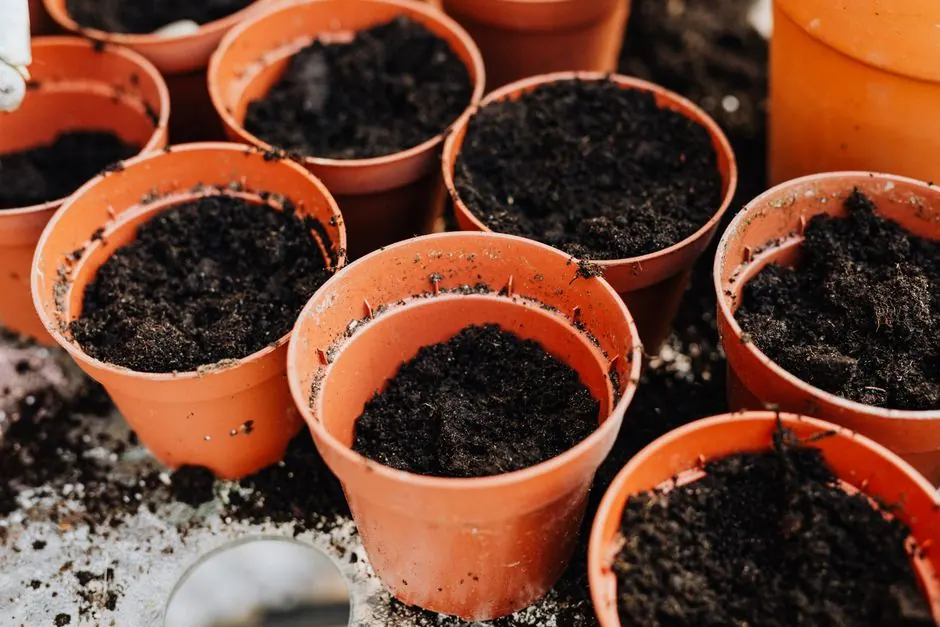
- Terracotta wicks water out through its walls and dries faster, which suits Hoya, cacti and plants prone to rot.
- Glazed ceramic is non-porous and usually has no drainage hole: use it as a sleeve around a nursery pot, never as the pot itself.
- Step up only 2–3cm at a time; an oversized pot holds wet substrate the roots cannot use.
Overwatering is a visibility problem
The surface of a pot tells you very little. The top centimetre of a chunky mix can be dry while the lower half is saturated, and a fine compost can look damp on top while the root ball beneath is bone dry and pulling away from the wall. Most growers water by the surface or by the calendar, and both are guesses. Root rot, the most common cause of death in houseplants we see, starts in the part of the pot no one can see.
A clear pot replaces the guess with an observation. You can see where the moisture is, whether roots are growing, what colour they are, and whether something is wrong, all without lifting the plant out. On our benches every young aroid grows in a clear slotted pot, and the habit transfers well to a windowsill collection.
Weight is the second tool, and a clear pot trains it. Lift a pot just after watering and again when the moisture line shows it is ready for water, and within a few weeks you will judge most of your collection by hand without looking. That matters most in winter, when water use falls sharply and the surface can mislead you for a fortnight. A wooden skewer pushed to the base and withdrawn after a minute is a useful check for large opaque pots: dark, damp wood means wait. Moisture meters that read electrical conductivity are unreliable in chunky bark mixes, because the probe sits in air pockets between particles.
What a clear slotted pot shows you
Hold a clear pot up to the light and four things are visible. First, the moisture line: damp substrate is darker, and condensation beads on the inside of the wall where the mix is wet. As the plant uses water, that dark band recedes from the top downwards, and you can water when it has dropped to the depth the genus prefers. Second, root colour. Healthy aroid roots against the wall are white, cream or pale green; brown, translucent or collapsing roots are an early warning, visible weeks before the leaves yellow. Third, root activity. Fresh white tips at the wall show the plant is growing and is ready for water and feed; a pot full of circling roots tells you it is time to step up. Fourth, pests: fungus gnat larvae and root mealybugs are often visible against the plastic.
The slots in the sides, usually four or more vertical channels, do a separate job. They let air into the root zone from the side, not just the top, raising oxygen levels where roots are densest. They also air-prune roots. When a root tip grows into a slot and meets dry air, it stops lengthening and the root branches behind the tip instead. The result is a dense, fibrous root ball rather than a few long roots circling the wall, which matters when the plant is later moved into a larger pot.
Light on roots and algae
A common worry is that light through a clear pot harms roots. For most epiphytic and hemiepiphytic plants it does not: velamen-covered roots of Anthurium, Monstera and orchids grow in light in the wild, and some even photosynthesise. Roots of terrestrial plants grow away from light, but a clear pot on a shelf receives little enough that root growth is unaffected in practice.
Green algae on the inside of the wall is another matter. It is not harmful to the plant in itself, but it tells you the substrate is staying wet in the light for long periods. If algae spreads quickly, water less often or move to a chunkier mix. Slipping the clear pot inside an opaque cachepot for display, and lifting it out to check, removes the algae problem and the look of roots altogether.
Terracotta: a pot that breathes and dries
Unglazed terracotta is fired clay with a network of fine pores. Water in the substrate moves into the pot wall by capillary action and evaporates from its outer surface. The pot effectively adds a second drying route through its sides. Substrate in terracotta dries noticeably faster than in plastic of the same size, and evaporation cools the root zone slightly, which is useful in a hot conservatory.
That faster drying is an advantage for plants that rot easily or prefer a full wet-dry cycle: Hoya, cacti and succulents, Sansevieria, and for growers who know they overwater. It is a disadvantage for moisture-loving Calathea, Maranta and ferns, and for Alocasia in a dry, heated room, which can dry out between waterings in terracotta.
Two practical points. Soak new terracotta in water for an hour before planting, or the dry clay will pull water out of fresh substrate. In hard water areas, dissolved minerals carried through the wall are left behind as a white crust on the outside, known as efflorescence. It is cosmetic, but salts also build up on the inner wall and can scorch roots that touch it; scrub pots between uses and flush the substrate occasionally with rainwater.
Glazed ceramic and decorative cachepots
Glazed ceramic is non-porous, so it dries no faster than plastic, and most decorative ceramic pots have no drainage hole. Planting directly into one is the single most common cause of root rot we encounter: water collects at the base, the lower root zone sits in it permanently, and no layer of gravel at the bottom prevents it. Gravel simply moves the perched water table up into the substrate.
Use ceramic as a cachepot, a decorative outer sleeve. Leave the plant in its clear nursery pot, stand that on a small spacer or a layer of clay pebbles inside the ceramic so the base sits above any drained water, and check 15–20 minutes after watering, emptying any water that has collected. Better still, lift the nursery pot out, water it in the sink and return it once it has drained.
Matching the pot to the genus and the mix
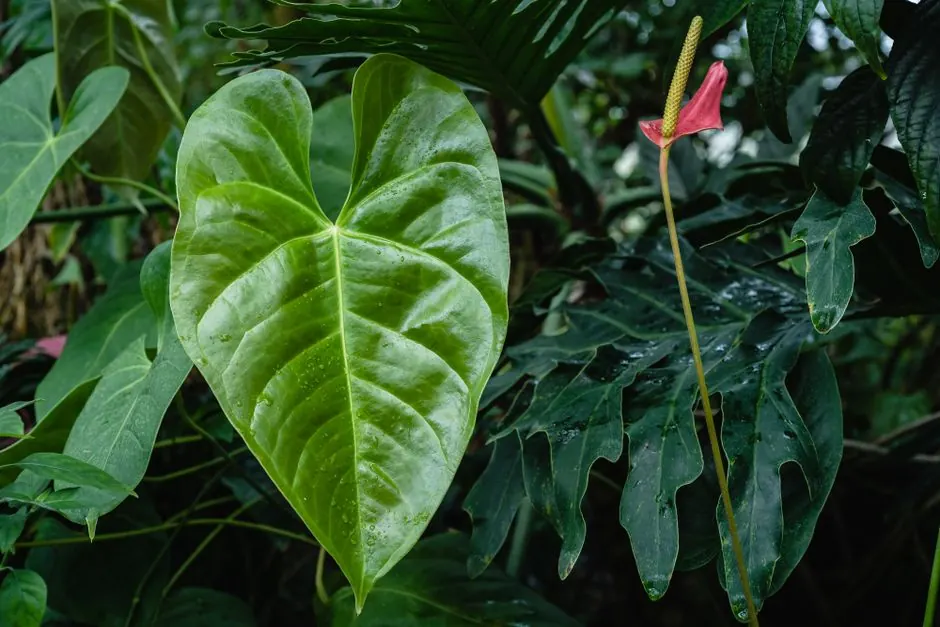
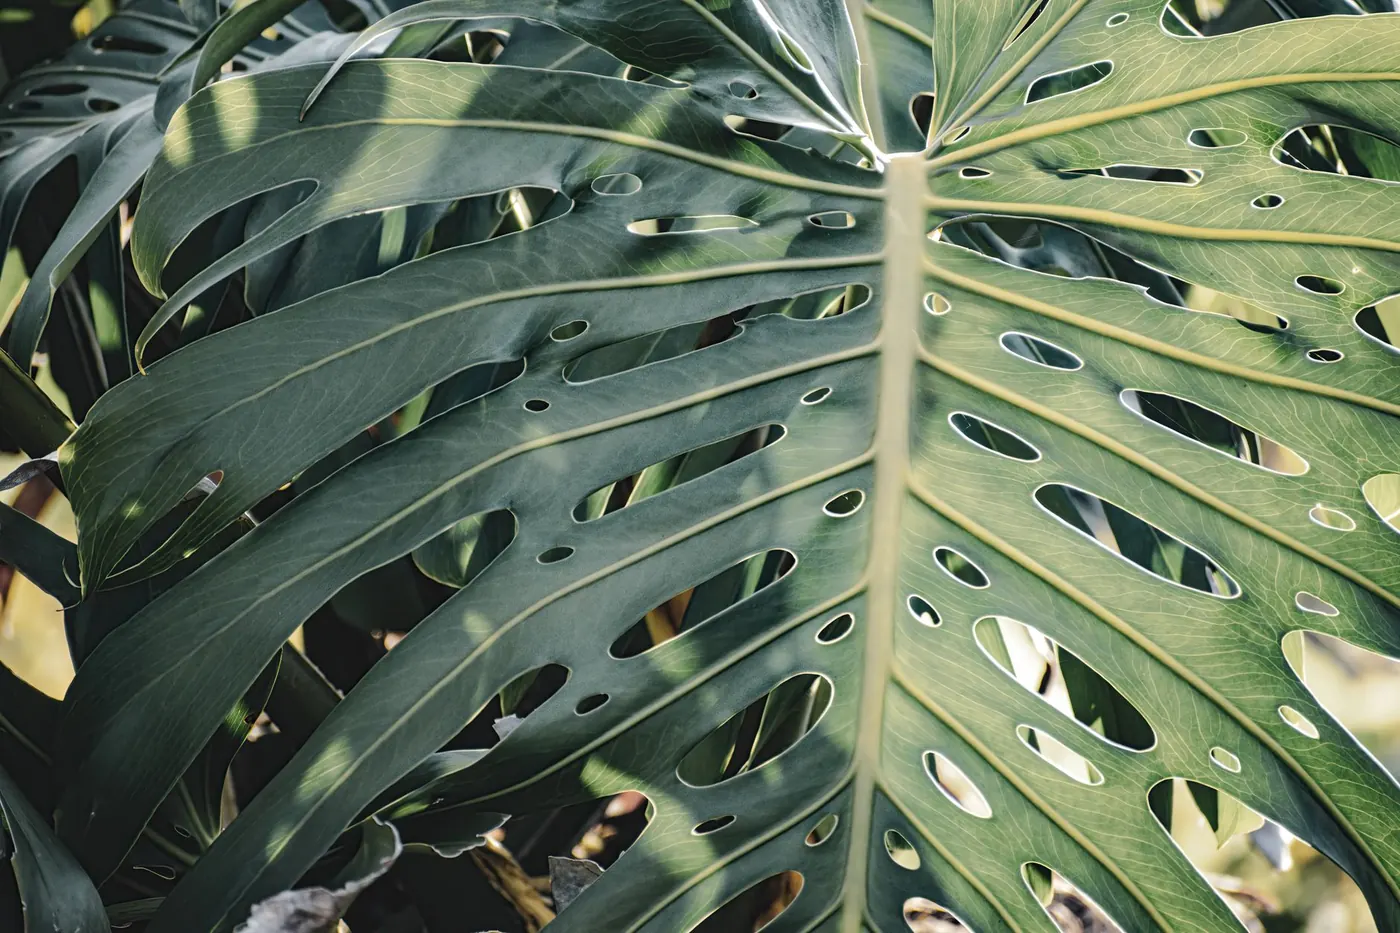
- Anthurium, Monstera, Philodendron: clear slotted pot with a chunky, high-AFP mix such as the Anthurium Epiphytic Mix or Monstera & Philodendron Mix; display inside a cachepot.
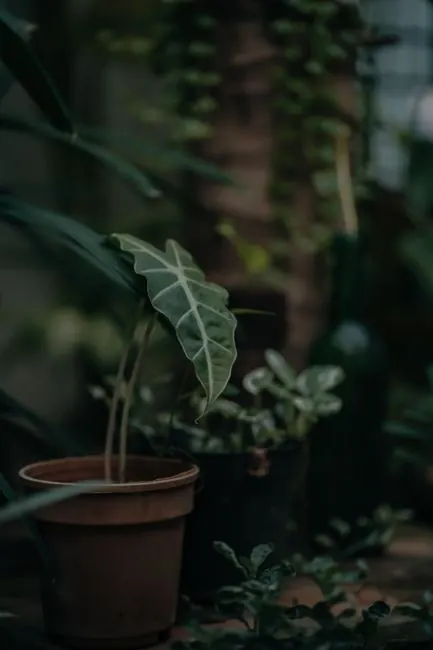
- Alocasia: clear pot, so you can watch roots closely as the plant moves through growth and dormancy.
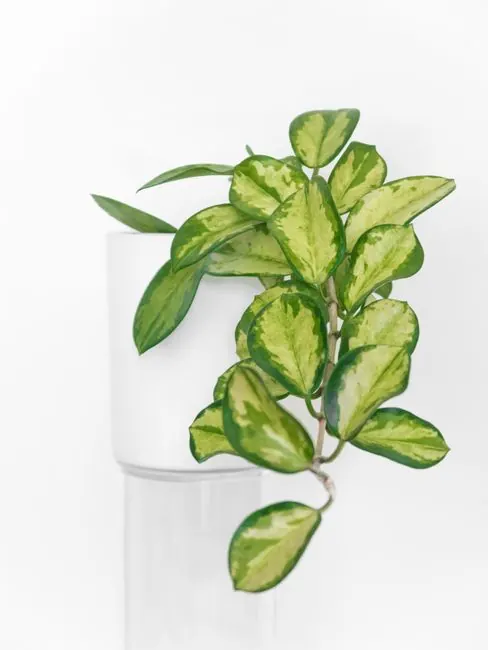
- Hoya and Rhipsalis: small terracotta or clear pots with the fast-draining Hoya Mix; both prefer to be snug.
- Calathea and Maranta: plastic, clear or opaque, with the moisture-retentive Calathea & Maranta Mix; avoid terracotta in heated rooms.
- Cacti and succulents: terracotta with the Desert Cactus Mix.
- Semi-hydro: clear pots with holes drilled only partway up the side to form a reservoir, covered in our semi-hydro guide.
Pot size and the step-up rule
Whatever the material, choose a pot only 2–3cm wider than the root ball. The roots of a plant moved from a 12cm pot into a 21cm pot occupy a small share of the new volume, and the substrate beyond their reach stays wet for days after each watering, exactly where rot begins. Stepping up gradually keeps the whole volume within reach of active roots. A clear pot makes the timing obvious: step up when roots have reached the wall all the way round and begin circling at the base.
Moving from a 12cm pot of about 0.9L to a 15cm pot of about 1.7L needs roughly 0.85L of fresh substrate around the root ball. Our repotting calculator works out the volume and bag size for a whole collection, and our clear slotted pots run from 6cm to 25cm.
Step-by-step protocol
- Water the plant the day beforeWater lightly the day before repotting so the root ball slides out intact and roots are hydrated but not saturated.
- Choose a pot 2–3cm widerSelect a clear slotted pot 2–3cm wider than the current root ball; never jump several sizes.
- Inspect the rootsEase the plant out and check colour and firmness; trim any brown, mushy roots back to firm tissue with a sterilised blade.
- Loosen circling rootsTease apart roots circling the base so they grow outwards into the new substrate.
- Add a base layer of mixPlace enough mix in the base to bring the top of the root ball to 1–2cm below the rim.
- Fill and settleTrickle mix around the root ball and tap the pot on the bench to settle it rather than pressing it down.
- Water and mark the lineWater through, let it drain fully and note how the moisture line looks against the wall when the pot is freshly watered.
- Water on evidenceWater again when the moisture line has receded to the depth suited to the genus: a third for most aroids, nearly all the way for Hoya.
Symptoms vs root causes
| Symptom | Root cause | Action |
|---|---|---|
| Brown, translucent roots visible against a clear pot wall | Early root rot from substrate staying wet too long | Unpot, prune and repot in a higher-AFP mix; water less often. |
| Green algae spreading inside a clear pot | Substrate wet for long periods in the light | Water less often or slip the pot into an opaque cachepot. |
| White crust on the outside of terracotta | Efflorescence from hard water minerals | Cosmetic; scrub between uses and flush substrate with rainwater. |
| Plant in a ceramic pot yellowing from the bottom | Standing water in a pot with no drainage | Move into a nursery pot and use the ceramic only as a sleeve. |
| Calathea in terracotta crisping between waterings | Terracotta drying the mix faster than the plant tolerates | Move into plastic with a moisture-retentive mix. |