- Hemiepiphytic aroids change leaf form as they climb; contact with a damp surface is part of the trigger.
- Aerial roots respond to touch (thigmotropism) and grow into moist moss, adding water uptake high on the stem.
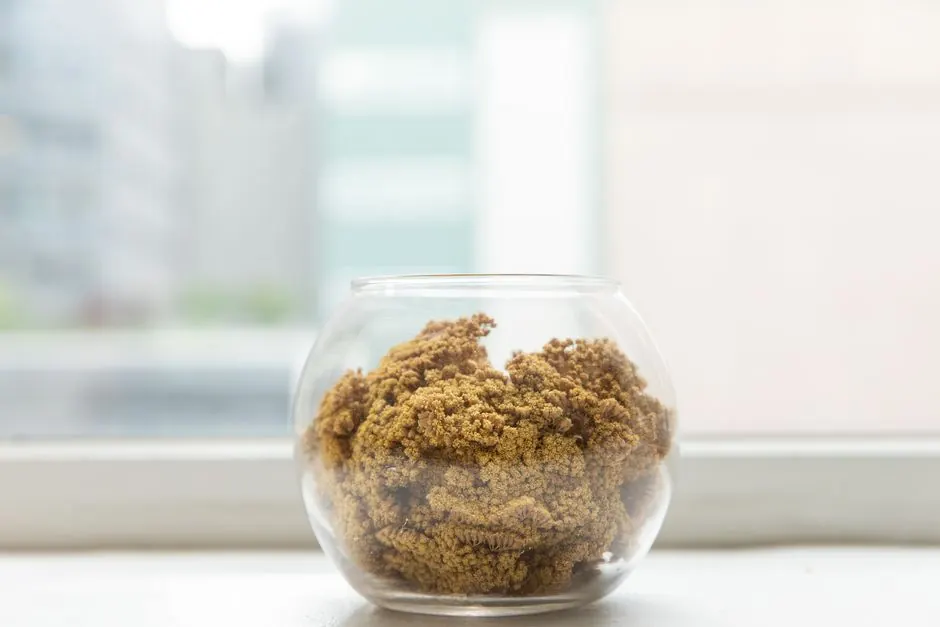
- Pack long-fibre sphagnum tightly into a mesh pole after soaking it for 20–30 minutes.
- Install the pole at repotting, on the side the aerial roots face, and tie at nodes with soft ties.
- Keep the moss damp, never dripping, and extend before the growing tip outgrows the top.
Why climbing aroids stay small without support
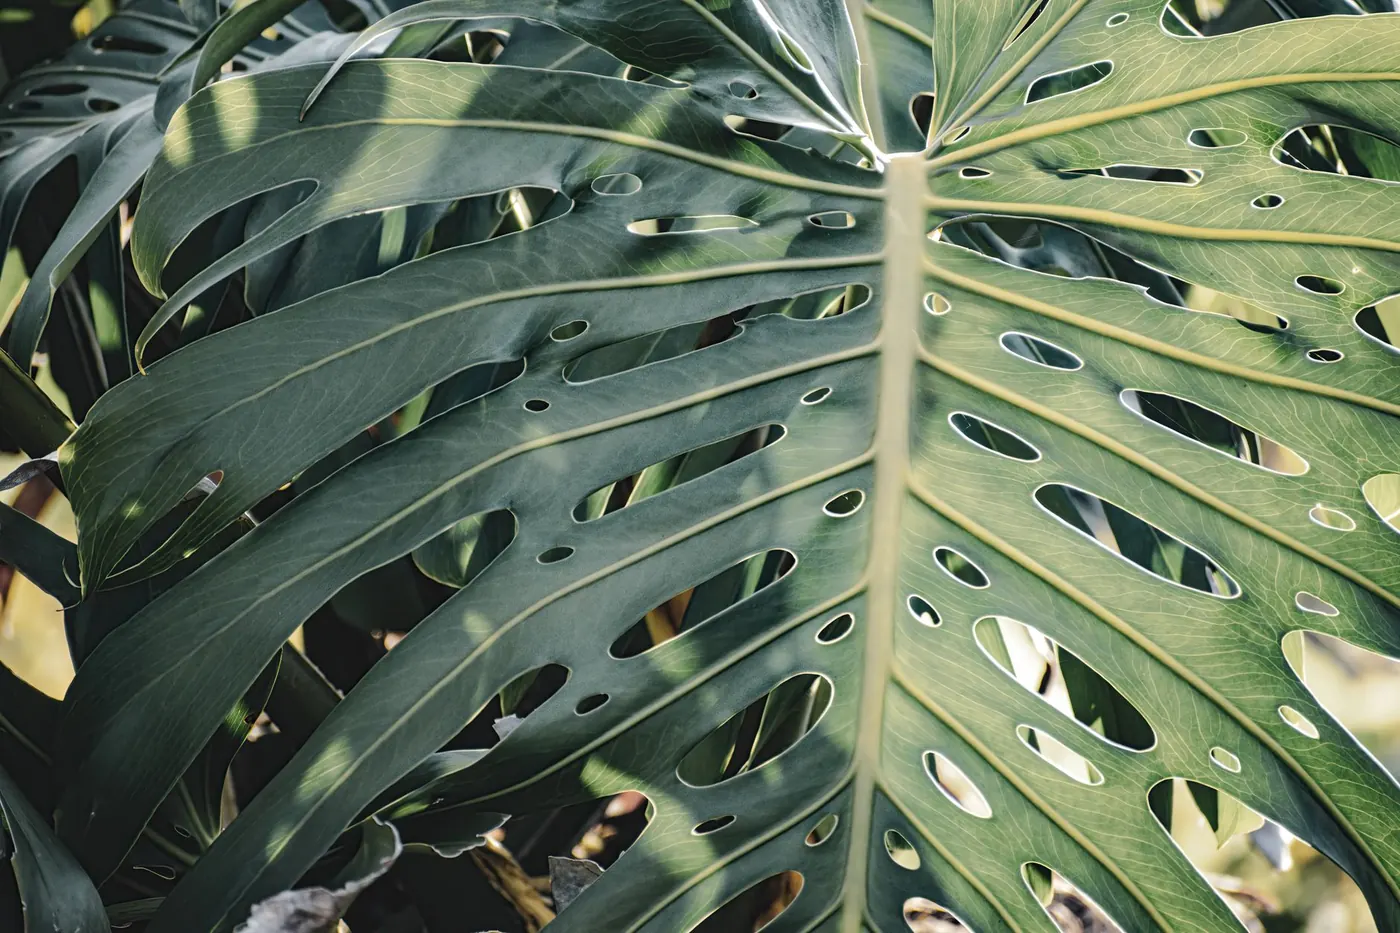
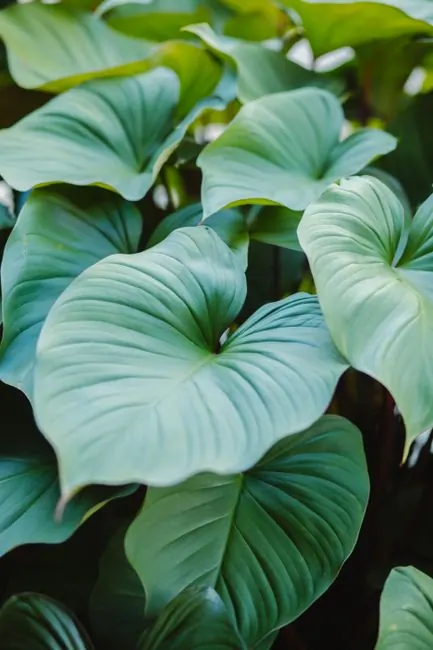
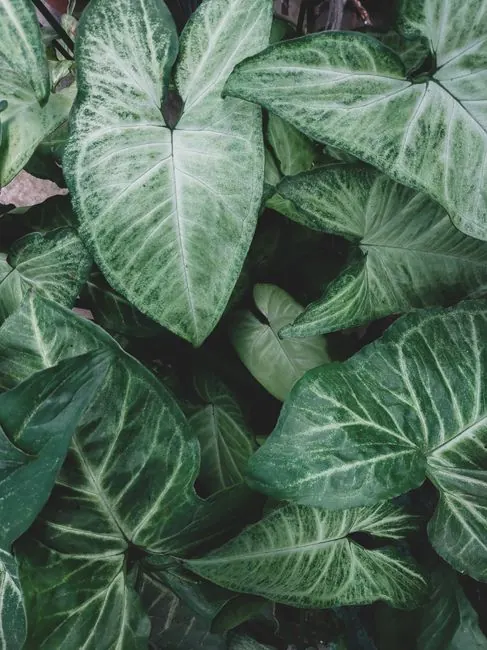
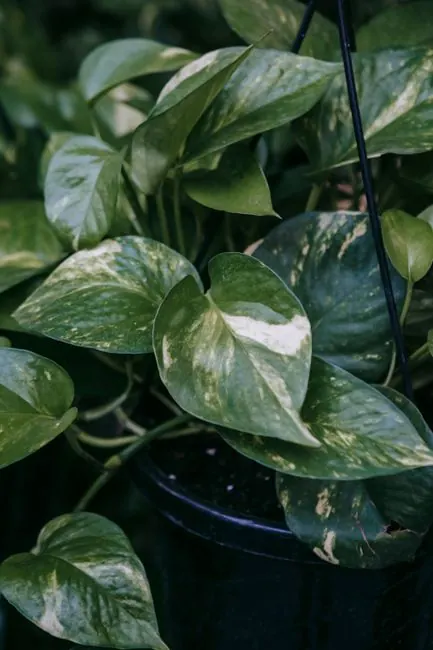
Monstera deliciosa, most climbing Philodendron, Epipremnum, Scindapsus and Syngonium are hemiepiphytes. They begin life on or near the forest floor and climb tree trunks towards the light, rooting into bark and moss as they go. Their leaves change as they rise. Juvenile leaves are small, entire and often held close to the stem; adult leaves are many times larger and, in Monstera, split and perforated. Botanists call this change of form with age and position heteroblasty.
The switch to adult foliage is not just a matter of time. It depends on the plant having enough light and energy, and on the plant sensing that it is climbing securely. A Monstera trailing across a shelf or flopping over the pot rim has neither secure contact nor height, and it keeps producing juvenile leaves year after year. The same plant on a damp moss pole, in good light, typically produces a larger leaf at each new node.
Seedlings of Monstera show a remarkable first step: they grow towards darkness rather than light, a response called skototropism, because in the forest the darkest direction is usually the shadow of a tree trunk. Once they reach it, touch takes over.
Thigmotropism and how aerial roots work
Thigmotropism is directional growth in response to touch. When an aerial root of a climbing aroid meets a surface, the side in contact grows more slowly than the side away from it, so the root curves around and presses against the support. Root hairs form at the contact zone and glue the root to bark or moss. Anchored roots then branch into the surface.
Climbing aroids produce two broad kinds of aerial root. Short clinging roots hold the stem to its support. Longer feeder roots grow downwards until they reach substrate, or into a moist surface such as moss, where they absorb water and nutrients. A moss pole serves both: it gives the clinging roots a grip and the feeder roots somewhere wet to work into, so the plant gains a second water supply high on the stem. That extra supply, and the mechanical security, are why leaves on a well-kept moss pole size up faster than those on a dry coir stake or a bamboo cane.
Dry surfaces do not work nearly as well. Aerial roots touching a dry coir pole often skate across it or die back at the tip, because a root cannot grow into material with no water in it. The moss must stay damp.
Choosing the right pole
For the plants in this guide, a mesh tube packed with sphagnum is the best general choice. Plastic mesh poles are rot-proof, can be refilled, and often come in sections that join for extension. D-shaped poles have a flat back that sits against the pot wall and a rounded face for the plant, which saves space in a corner. A pole of 5–8cm diameter suits most indoor plants; very large Monstera and Philodendron specimens benefit from 10cm.
Coir poles are cheap and tidy but dry out quickly and resist root penetration. Wooden planks wrapped in moss work well for flat-climbing shinglers such as Rhaphidophora hayi and Scindapsus. Whatever you choose, length should allow at least 30–40cm above the current growing point, and the base must reach the bottom of the pot for stability.
Our extendable moss poles and long-fibre sphagnum are what we use on our own climbing specimens.
Building the pole
Soak long-fibre sphagnum in lukewarm water for 20–30 minutes until it is fully rehydrated and pliable. Rainwater or filtered water is worth using in hard water areas, because limescale deposits in the moss over months and stiffens it. Squeeze out the excess so the moss is wet but not running.
Fill the mesh tube in small handfuls, pressing each one down firmly with a dowel or the handle of a wooden spoon. Loose moss sinks and leaves voids at the top, and it dries out faster. Packing tightly gives the roots a continuous, even medium to grow into. Close the tube, stand it upright for an hour to let excess water drain away, then top up any gap at the top that has appeared as the moss settled.
A 60cm pole of 6cm diameter typically takes around 2–3L of rehydrated moss; dried sphagnum expands considerably on soaking, so start with less than you think and soak more as needed.
Installing the pole and training the plant
The best time to install a pole is at repotting, when it can go in before the roots are disturbed by pushing a stake through them. Look at the stem: aerial roots and the node line emerge from one side, and new leaves unfurl from the opposite side. Set the pole against the root side so the stem lies flat against it and the leaves face outwards into the room.
Push the pole down to the bottom of the new pot, then fill around both the pole and the root ball with a chunky climbing-aroid substrate such as the Monstera & Philodendron Mix, which keeps its structure under the weight of a tall plant. Use the repotting calculator to allow for the volume the pole takes up.
Tie the stem to the pole at each node with soft plant ties or reusable fabric tape, firm enough to hold the stem against the moss but loose enough to fit a finger behind. Press existing aerial roots into the moss and pin long ones with a loop of plant wire. Over the following weeks, new roots emerging at each node will find the moss themselves if the stem sits snug against it.
Keeping the moss moist
The moss should feel like a wrung-out sponge: damp throughout, never dripping, never crisp. In a centrally heated UK home that usually means adding water to the pole two or three times a week. Pour 50–100ml slowly into the top of the pole, or use a pole with a top reservoir, and mist the face if the room is very dry. Water running out of the bottom of the pole into the pot is a sign you have added too much.
Check by pressing the moss with a finger at several heights. The top dries first, and that is where the newest roots are trying to attach, so it matters most. If the moss turns green with algae on the outside, it is wetter than needed and has too much light on it; let it dry slightly between top-ups. A slimy or sour-smelling pole needs repacking with fresh moss.
Extending the pole and what to expect
Add a section before the growing tip reaches the top; once a stem has grown past the support it leans away and produces smaller leaves. Join the new section, pack it with moss, and keep the top of the old section moist so roots continue anchoring across the joint. On a vigorous Monstera in good light, that is usually every six to twelve months.
Light decides how fast leaves size up. A climbing aroid on a moss pole in 200–400 µmol/m²/s, from a bright east or west window or a grow light, typically adds a larger leaf at each node during the growing season, and the first full fenestrations appear on a juvenile Monstera deliciosa within one to two seasons. In a dim corner the pole helps, but the plant still lacks the energy to build big leaves. Pair the pole with the brightest position available and use the light finder to check yours.
Step-by-step protocol
- Soak the sphagnumRehydrate long-fibre sphagnum in lukewarm rainwater or filtered water for 20–30 minutes, then squeeze until damp but not running.
- Pack the poleFill the mesh tube in small handfuls, pressing each one down firmly so there are no voids, then close it and let it drain upright.
- Find the root side of the stemIdentify the side of the stem where nodes and aerial roots emerge; this side goes against the pole.
- Set the pole in the new potPush the pole to the base of a pot 2–3cm wider than the root ball, positioned behind the root side of the stem.
- Backfill with chunky mixFill around the pole and roots with a structured climbing-aroid mix, tapping the pot to settle it rather than compressing.
- Tie at the nodesSecure the stem at each node with soft ties loose enough to fit a finger, and press existing aerial roots into the moss.
- Moisten two to three times a weekPour 50–100ml slowly into the top of the pole and check the moss by touch at several heights.
- Extend before the tip outgrows itAdd a packed section once the growing tip is within 10cm of the top, keeping the joint moist.
Symptoms vs root causes
| Symptom | Root cause | Action |
|---|---|---|
| Aerial roots touching the pole but not attaching | Moss dry at that height or stem not snug against it | Moisten the moss more often and retie the stem closer to the pole. |
| New leaves smaller than the last | Growing tip has outgrown the pole, or light is too low | Extend the pole and move the plant to brighter light. |
| Green algae over the moss surface | Moss kept wetter than needed in bright light | Let the surface dry slightly between top-ups. |
| Pole smells sour and moss is slimy | Moss saturated and breaking down | Repack with fresh sphagnum and water the pole less. |
| Plant leaning away from the pole | Ties too loose or placed between nodes | Retie at each node so the stem lies flat against the moss. |